
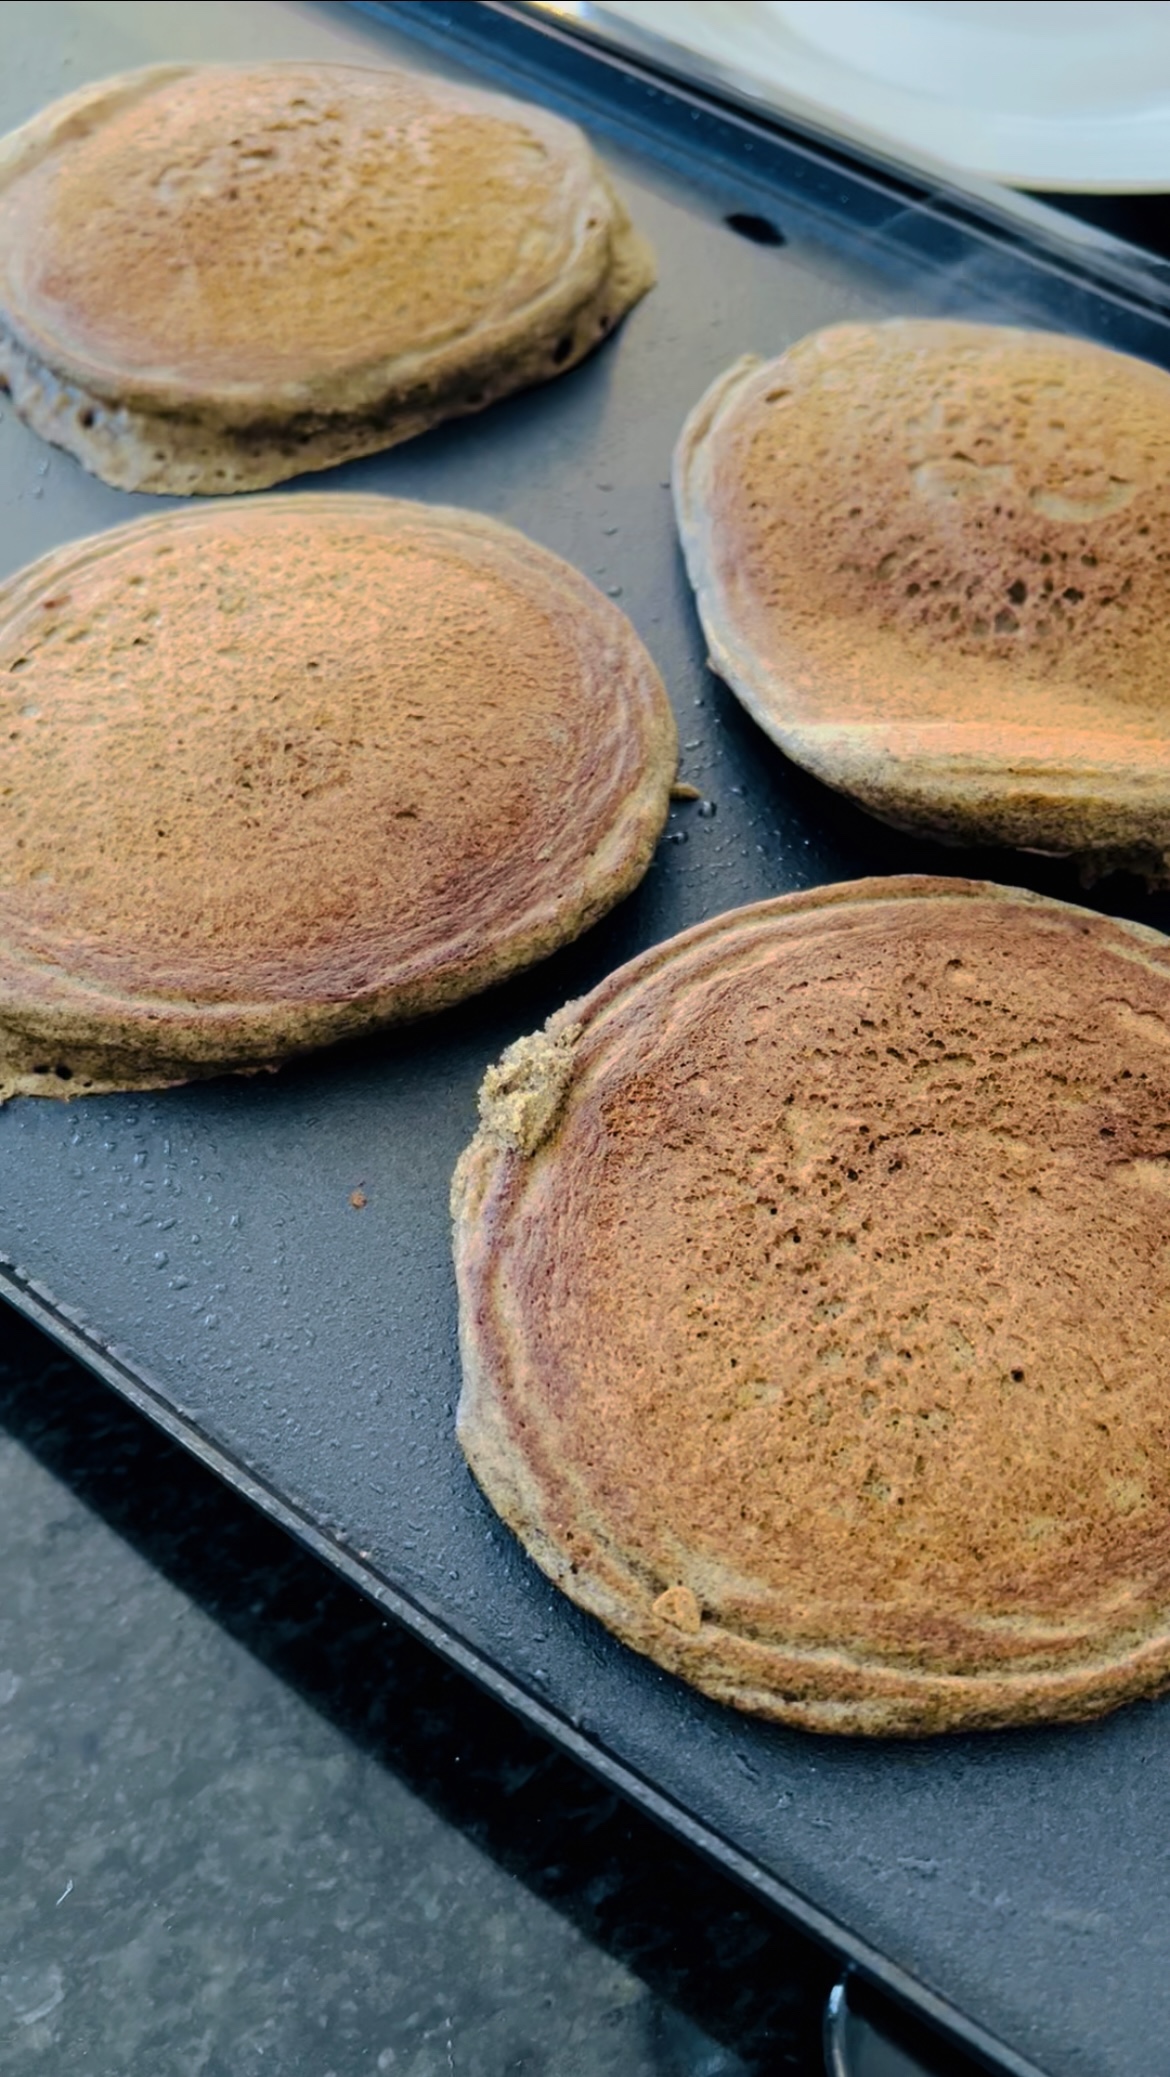
Breakfast is served. On Sunday’s we love to make something special and pancakes are always a hit. There’s a million different ways to make and serve them. You can make simple pancakes or fancy ones with all the toppings. No matter which way you choose, they will always be a classic. So toss the box mix aside and let’s get creative with these Easy Buttermilk Buckwheat Pancakes.
Buckwheat is a gluten-free, whole grain that is actually very similar to quinoa. It is not at all related to wheat but is a good source of fiber and can be processed into a flour that makes all kinds of pastas, breads, and baked goods.
Cooking and baking with buckwheat is perfect for those who are looking for healthier gluten-free alternatives. It scratches that itch if you crave the taste of wheat. There’s a little bit of a nutty flavor that adds a bit of warmth to the flavor of these pancakes. Combine that with the tanginess of buttermilk, top it off with butter and real maple syrup… you have a match made in heaven!
What You’ll Need:
Buckwheat Flour- Grab yourself a nice big bag of buckwheat flour, I have a feeling you will make these pancakes again and again. I never forgot the first time I had these at a local breakfast diner in my hometown over 20 years ago. When I found buckwheat flour, I was finally able create that experience in my own kitchen.
Buttermilk- I love the tanginess of cultured buttermilk, I love how soft & buttery it makes my baked goods, and there’s no fluffier pancake than a buttermilk one in my humble opinion.
Vanilla Extract- Some of the recipes I tried over the years were missing something… it was definitely vanilla. Vanilla flavor or extract, both work but definitely don’t skip it.
Butter- Cooled, melted butter is the last ingredient that I mix into the batter before cooking. Again, this was an ingredient missing in a lot of the other recipes I had tried. Some had vegetable oil, others had no oil at all. I think it needs some form of oil and butter is the perfect addition of fat to the batter.
Electric Griddle- I love to use my electric griddle because it allows me cook a lot all at once. I can also control the temperature much easier. If you do not have one, use a good sized non-stick skillet or frying pan.
Ice Cream Scoop- This gives me just right amount of batter and shape for my pancakes. You can also use a measuring cup to pour out about 1-4 to 1/2 cup. I don’t recommend using more than that, they will be too thick to cook properly, possibly causing them to burn by the time the middle is fully cooked through.


Tips & Tricks
- Bring your refrigerated ingredients to room temperature. I set them out on the counter as soon as I get up in the morning, letting it get the chill off while I make coffee and check a few things off of my list. Removing the eggs from the shell and placing them in a bowl will speed up the “warming” time for the eggs. Same with the buttermilk, measure it out before setting it on the counter.
- Have your maple syrup, butter and plates ready to go for serving before you get started. No one likes a cold pancake no matter how fluffy it is. Real maple syrup should always be stored in the fridge. Because it is a natural product, it can go bad left at room temperature for long term storage. I also set this out with the rest of my ingredients so it melts in with the butter nicely when serving.
- Start pre-heating your griddle pan as soon as you get started mixing your ingredients. Don’t use the non-stick spray until you are ready to cook. The temperature may also need to be adjusted as you are cooking. I know if I use my gas stove that the pan keeps getting hotter and towards the end my pancakes get “crispier”.
- If you are cooking a large batch for meal prep or a crowd, I recommend prepping your area. Use a paper towel lined plate or casserole dish to place the cooked pancakes. Cover them with a clean dish towel to keep them warm if they are being served right away.
Storage & Freezing
You can keep these in a container or in a zipper bag in the fridge for a day or two. Re-heat several on a parchment lined cookie sheet, covered with foil for 10-15 minutes at 325 F (165 C). If you need to store these beyond 2 days, they will need to be frozen to maintain freshness. You can freeze by letting them cool completely on a cooling rack. Place some wax paper/freezer paper in between them in a freezer bag. I take out what I need the night before to thaw in the fridge. Pop them in the toaster to reheat in the morning.
Looking for more BREAKFAST recipes?
Fluffy Buttermilk Pumpkin Spice Pancakes
The BEST Peach Cobbler Granola
Simple Overnight Cinnamon Rolls
If you try these Easy Buttermilk Buckwheat Pancakes or any of my other recipes, comment & rate below.


You can also find me on Facebook & Pinterest!
Subscribe today for FREE weekly recipes sent directly to your inbox!
Be sure to check your email to confirm.

Easy Buttermilk Buckwheat Pancakes
Equipment
- 1 Electric Griddle
- 1 Ice-Cream Scoop or 1/2 cup
Ingredients
- 1 cup buckwheat flour
- 1 teaspoon baking powder
- 1 teaspoon baking soda
- 2 tablespoons white granulated sugar
- 1/2 teaspoon salt
- 1 large egg, room temperature
- 1 teaspoon vanilla extract
- 1 cup buttermilk, room temperature
- 2 tablespoons butter, melted & cooled
Instructions
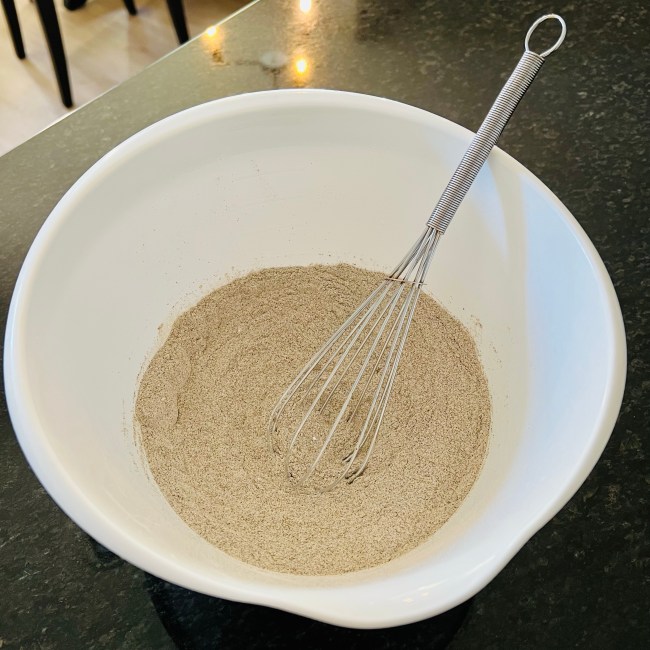
- In a medium mixing bowl combine the buckwheat flour, baking soda, baking powder, salt & sugar. Set aside. Heat the griddle to 325F or a large skillet to medium heat on the stove.
- In a cup glass measuring pitcher or a small mixing bowl, whisk together the buttermilk, egg, and vanilla.
- Pour the wet ingredients into the bowl with the dry ingredients and mix until there are no clumps of flour. Add the melted butter to the batter and stir until combined.
- Prepare the griddle or the skillet with a non-stick spray. With an ice-cream scoop or a measuring cup, pour out about 1-4 to 1/2 cup. I don't recommend using more than that, they will be too thick to cook properly, possibly causing them to burn by the time the middle is fully cooked through.
- Cook for a few minutes until the edges start to bubble. Gently lift an edge with a spatula to check if it's browning. When it's ready, flip and cook for another few minutes.
- Cook all of the pancakes. Serve warm with butter and maple syrup, or cool completely and freeze for up to 3 months.
Leave a Reply