
Tired of the same old pizza night routine? Craving something different to pair with your homemade meals that doesn’t involve tons of kneading or mixing by hand? Look no further than your trusty bread machine and check out this Guide to Bread Machine Flatbreads because it’s time to unlock its multi-tasking potential!
These are more than just glorified tortillas. They’re a blank canvas for endless pizza nights, and perfect for any meal. From quick on-the-go breakfasts with scrambled eggs to lunch time salads and weeknight dinners such as soups, salads, and chili. Even fancy appetizer spreads or next level charcuterie boards, bread machine flatbreads are a must try.
Why go with a bread machine?
Convenience. Let your machine do the hard work! Toss in the ingredients, hit a button, and voila – perfectly risen dough ready to shape and cook on the griddle. I love to get the machine going in the morning and make these for lunch or dinner. The leftovers are the perfect replacement for toast in the mornings.
If we are doing a pizza night, sometimes I will make this one day ahead. You can refrigerate it in a greased bowl overnight covered with plastic wrap. Flatbreads are very versatile a go-to recipe is a must!
What You’ll Need:
Bread Machine (1.5 or 2-pound)
All-Purpose Flour or Bread Flour- This isn’t a high rising bread, no need for the extra gluten in bread flour here, but use it if you prefer. I have tested both and they work similarly.
Spelt or Wheat Flour- I love to use Spelt but you can use Wheat Flour in equal parts. Adding just a little bit of spelt flour not only made this more flavorful, but healthier. As a bonus, it really helps the texture of the dough. It made it much easier to work with too.
Olive Oil
Honey– It helps the yeast do it’s job. Don’t swap it out for regular sugar. This counts for part of your liquid. Tip: Measure the oil first. The honey will pour out much easier.
Salt- Plain table salt, pink Himalayan, or sea salt.
Instant Yeast– I almost always use instant yeast, aka bread machine yeast. If you use active dry, it may require long resting time after you have divided your finished dough.
Digital Scale- Measuring by weight has become my preferred method for measuring. It’s easier once you get the hang of it and is far more accurate. If you are measuring by volume be sure to spoon your flour into your measuring cup and level it off with a butter knife.
NOTE: With practice, I now place my bread pan directly onto my scale for measuring. Go slow so you don’t over measure because once it goes in, it is not coming out and be sure to ZERO out the scale by pressing TARE in between ingredients.
Silicone Spatula– I use these every time I check my dough for too wet or too dry during the first mix. It helps me pull down any ingredients stuck to the sides of the bread pan so it will all incorporate into the dough ball. The bread machine pan is non-stick and will scratch, so using something soft prevents any damage.
Dough Scraper or Butter Knife- For dividing the dough.
Rolling Pin
Silicone Pastry Mat- I roll out and shape my dough for any kind of bread making on my silicone counter mat. It gives me a nice surface area to flour, shape, and roll. My doughs tend to stick less, and if I do have to flour the counter it is SO much easier to clean up. I just take it to the sink and rinse it off or wipe clean with a few paper towels. It also helps me size and measure these flatbreads. It’s not a necessity, but it is helpful when making sure that you are going to fit the bread in your skillet or griddle.
Cast Iron Pan, Skillet, or Griddle
Cooling Racks


Dough Cycle Tips
Know the order to place your ingredients. I always write my recipes for bread in the order they go into the pan of my machines. I have several and they all work well adding wet then dry, but always check the manufacturer’s instructions.
Measure ingredients into a bread pan that has been removed from the machine. Spills happen and it’s to keep flour and liquids away from the heating elements.
Make sure your machine is in a secure location where it cannot fall off the counter when left unattended. Though this has not happened to me, I have heard of it happening. Bread machines do move quite a bit during the mixing and kneading parts of the cycle. It’s best to keep it in a spot where it can’t take a “walk” off of your counter while you are letting it do the hard work for you.
Check your dough for too wet or too dry within the first 5 minutes and make adjustments accordingly. This part is so simple, but also very important. Especially because no matter how you measure, there will be ingredients sitting on the side of the pan that need a gentle scrape down with a silicone spatula. This helps you gauge whether or not your dough is too wet or too dry by making sure that everything you have already added gets mixed in before making any possible modifications.
No matter how you measure or how great the recipe, there are variables such as weather and temperature that will change how the dough ball forms. On rare occasions, you may need to make minor adjustments such as adding a tablespoon or two of flour or liquid. I find that if I bake on rainy days that I may need a little bit of extra flour. Other than that, using a digital scale to measure helps keep my results fairly consistent.
Set a timer for the finishing time. The bread machine is pretty much set it and forget it after the first 5 minutes. It’s a great time to walk away and do other things. Because of that, I highly recommend setting a timer so the dough isn’t accidentally forgotten in the machine. A few minutes shouldn’t affect this flatbread recipe, but more than that with other recipes and it could end up over-proofed.


How to Cook Flatbread
STEP 1: After the bread machine has done it’s work. Remove the dough onto a lightly floured surface and press out the air bubbles. Shape into a loose round ball and divide into 4 equal pieces.
Let rest for an additional 15 -20 minutes covered with a light towel. Set a timer and come back. This time will vary depending on the temperature of your kitchen, but adding a resting period will help it roll out easier since there is no “final” shaping & rising. The dough needs time to relax or it will resist.
STEP 2: After your dough has rested, press out the air again, pre-shaping a circle as you go along. Then roll each dough ball out into 10″ circles, you can do one at a time in between cooking or all at once if you have the counter space.
STEP 3: The easiest way I have cooked flatbread has been with a large electric griddle and that is the main method I have included in the recipe below. Set the temperature to 325 F on the dial and cook two at a time for about 5-7 on each side until golden brown.

You can also use a large skillet pan that is about 12 inches in diameter so you have enough room for an 10 inch round. If using a skillet, turn the heat to medium and cook for about 5-7 minutes on each side. I like to use a lid to help them cook a little faster. Make adjustments to the heat as needed to prevent burning.

I have also cooked it on a cast iron skillet. If using cast iron, I have to adjust the heat between medium and medium low. It will get very hot so be careful, and be sure it is well seasoned and debris free. I highly recommend using a lid with cast iron, because it conducts heat SO well that the lid helps it almost “bake” by holding the heat in. It will take less time using this method. Usually about 2-3 minutes per side.
Whether you are using a standard skillet or a cast iron, take the cooking time as an opportunity to roll out and have your next flatbread ready to go. If you have the counter space to roll them all out at once, keep them covered with a lint-free towel to prevent drying out. I use flour sack towels.
How to Serve: Beyond the Basics
- Toppings galore: Go minimalist with olive oil and herbs, or pile on the goodness with roasted veggies, meats, cheeses, and dips. The sky’s the limit!
- Leftover love: Turn your flatbreads into wraps, pizzas for lunch, or even crispy cracker bases for homemade dips.
- Get fancy: Dress up your dough with sun-dried tomatoes, olives, or even chopped nuts for a gourmet touch.
- Sweet tooth: Dessert flatbreads? Yes, please! Try cinnamon sugar and apples, Nutella and bananas, or even a savory-sweet ricotta and fig combo.
- Pair it up: It also makes a delicious addition to dips and salads. They even pair well with a side of my Lemon Herb Salmon Salad, Creamy Green Goddess Hummus or Smoky & Spicy Chipotle Hummus.
- Get Cozy: When that sweater weather rolls around and you want flatbread with something that keeps you warm, try pairing it with One-Pot Marry Me Chicken Noodle Soup or Mississippi Pot Roast Chili: 2 Ways!
With a little creativity and your trusty bread machine, you’ll be a flatbread master in no time. So ditch the takeout menus, fire up your oven. Remember, bakers, the only limit is your imagination! Share your flatbread creations and tips in the comments below!
Looking for more BREAD MACHINE recipes? Check these out!
Bread Machine Sourdough Liège Waffles
Bread Machine Master Butter Dough
The Ultimate Bread Machine Guide to a 100% Sourdough Sandwich Loaf
Orange Maple Brioche Sticky Buns
Simple Overnight Cinnamon Rolls
If you use my Guide to Bread Machine Flatbreads or any of my other recipes, comment & rate below.
You can also find me on Facebook & Pinterest!


Subscribe today for FREE weekly recipes sent directly to your inbox!

Guide to Bread Machine Flatbreads
Equipment
- 1 1.5 or 2-pound bread machine, optional
- 1 electric griddle or standard skillet
- 1 Cooling Rack
Ingredients
Flatbread:
- 1 cup water, lukewarm (about 105 F)
- 2 tablespoons olive oil
- 1 tablespoon honey
- 3 cups bread flour
- 1/4 cup spelt flour or wheat flour
- 1 teaspoon table salt
- 1 1/2 teaspoons instant yeast or bread machine yeast
Instructions
Flatbread:
- Add the ingredients into your bread machine pan in the order listed, from wet to dry or as recommended for your own machine.
- Set the machine to the dough cycle, and after 5 minutes for too wet or too dry. Make small adjustments if needed.
- Once your machine has completed its cycle, remove the dough and knock out the air on a lightly floured surface by gently kneading a few times. Divide into 4 equal pieces and gently shape into rounds. Cover loosely with a lint free cloth (I use flour sack towels) and let rest for 15-20 minutes. Be sure to set a timer.

- After the resting period the dough should roll out and hold its shape. If the dough resists and springs back too much, cover again and let rest for another 5 minutes or so.
- Pre-heat your electric griddle to 325 F or a large 12" skillet to medium/medium-low and start rolling out 10" rounds. They don't have to be perfect, just get a shape thin enough to cook fairly evenly and that will fit in your skillet or on your electric griddle.

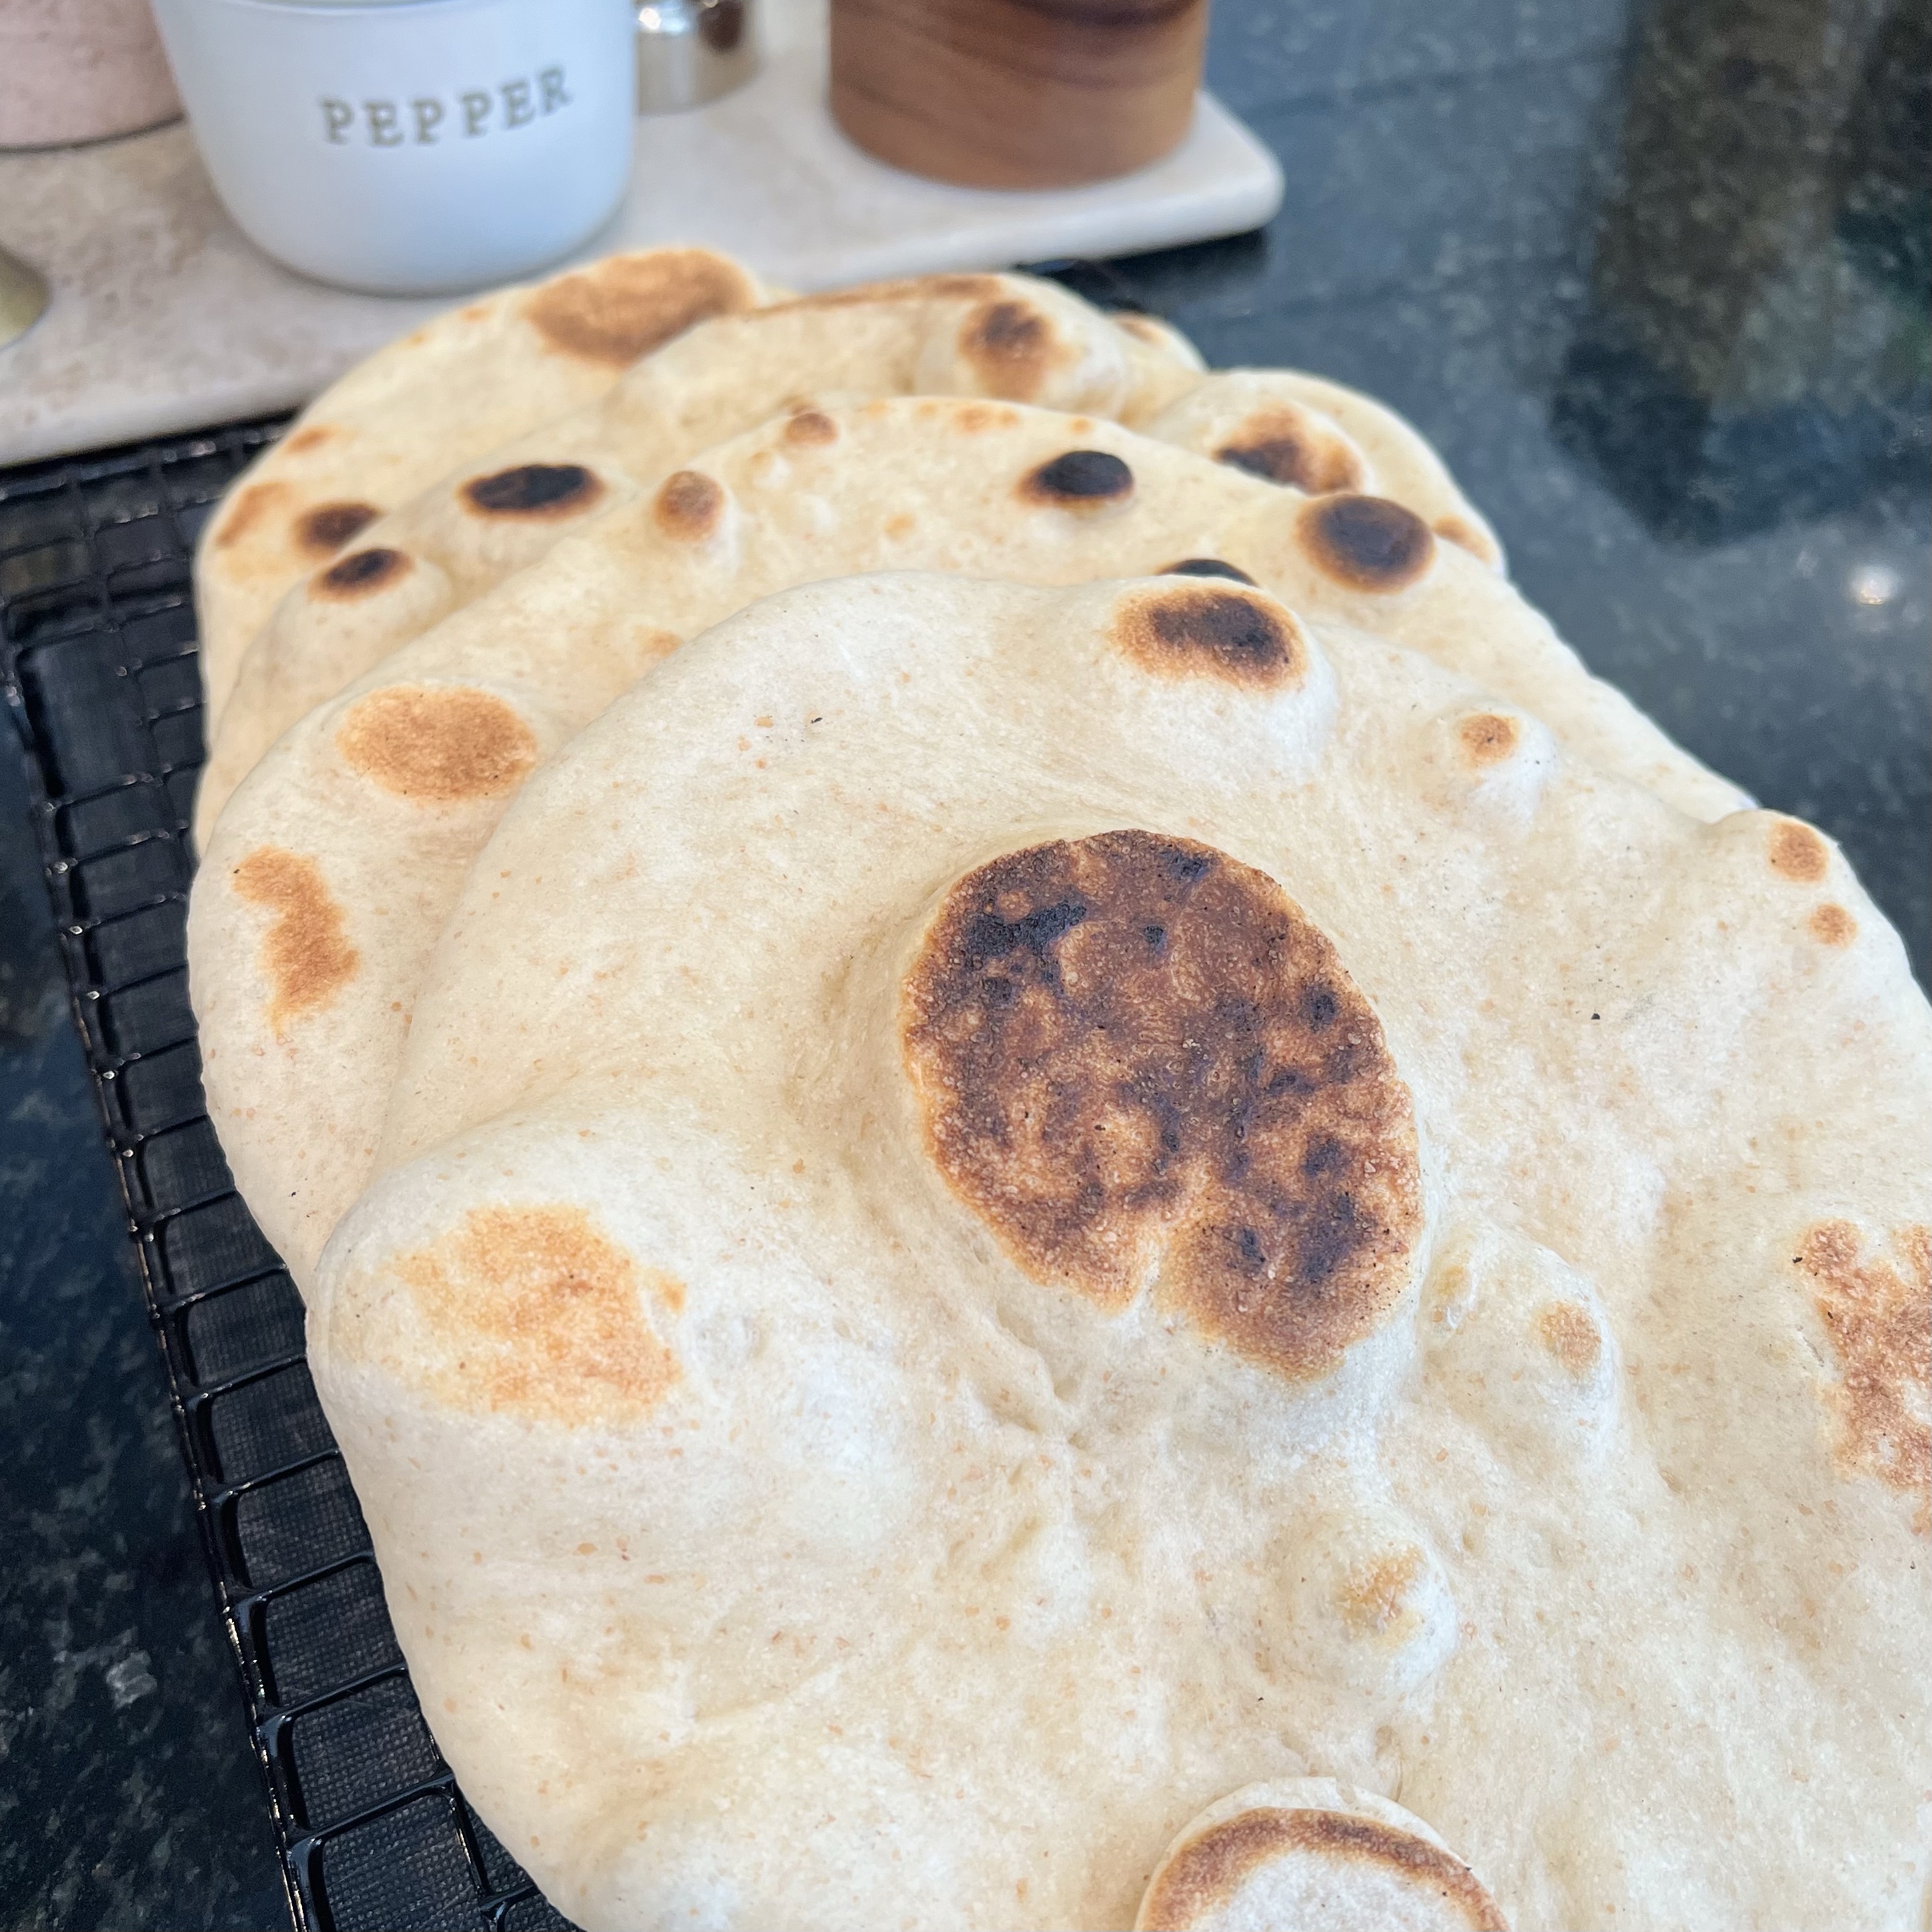
- Cook for 5-7 minutes per side, flip when browned. When cooked place on a cooling rack and cool completely before storing or make the pizzas as soon as you are ready. If you are not making pizzas, cut into triangles and serve with soups, salads, or dips.

- Store in an air-tight container or zipper bag in the refrigerator for up to 7 days
Leave a Reply