
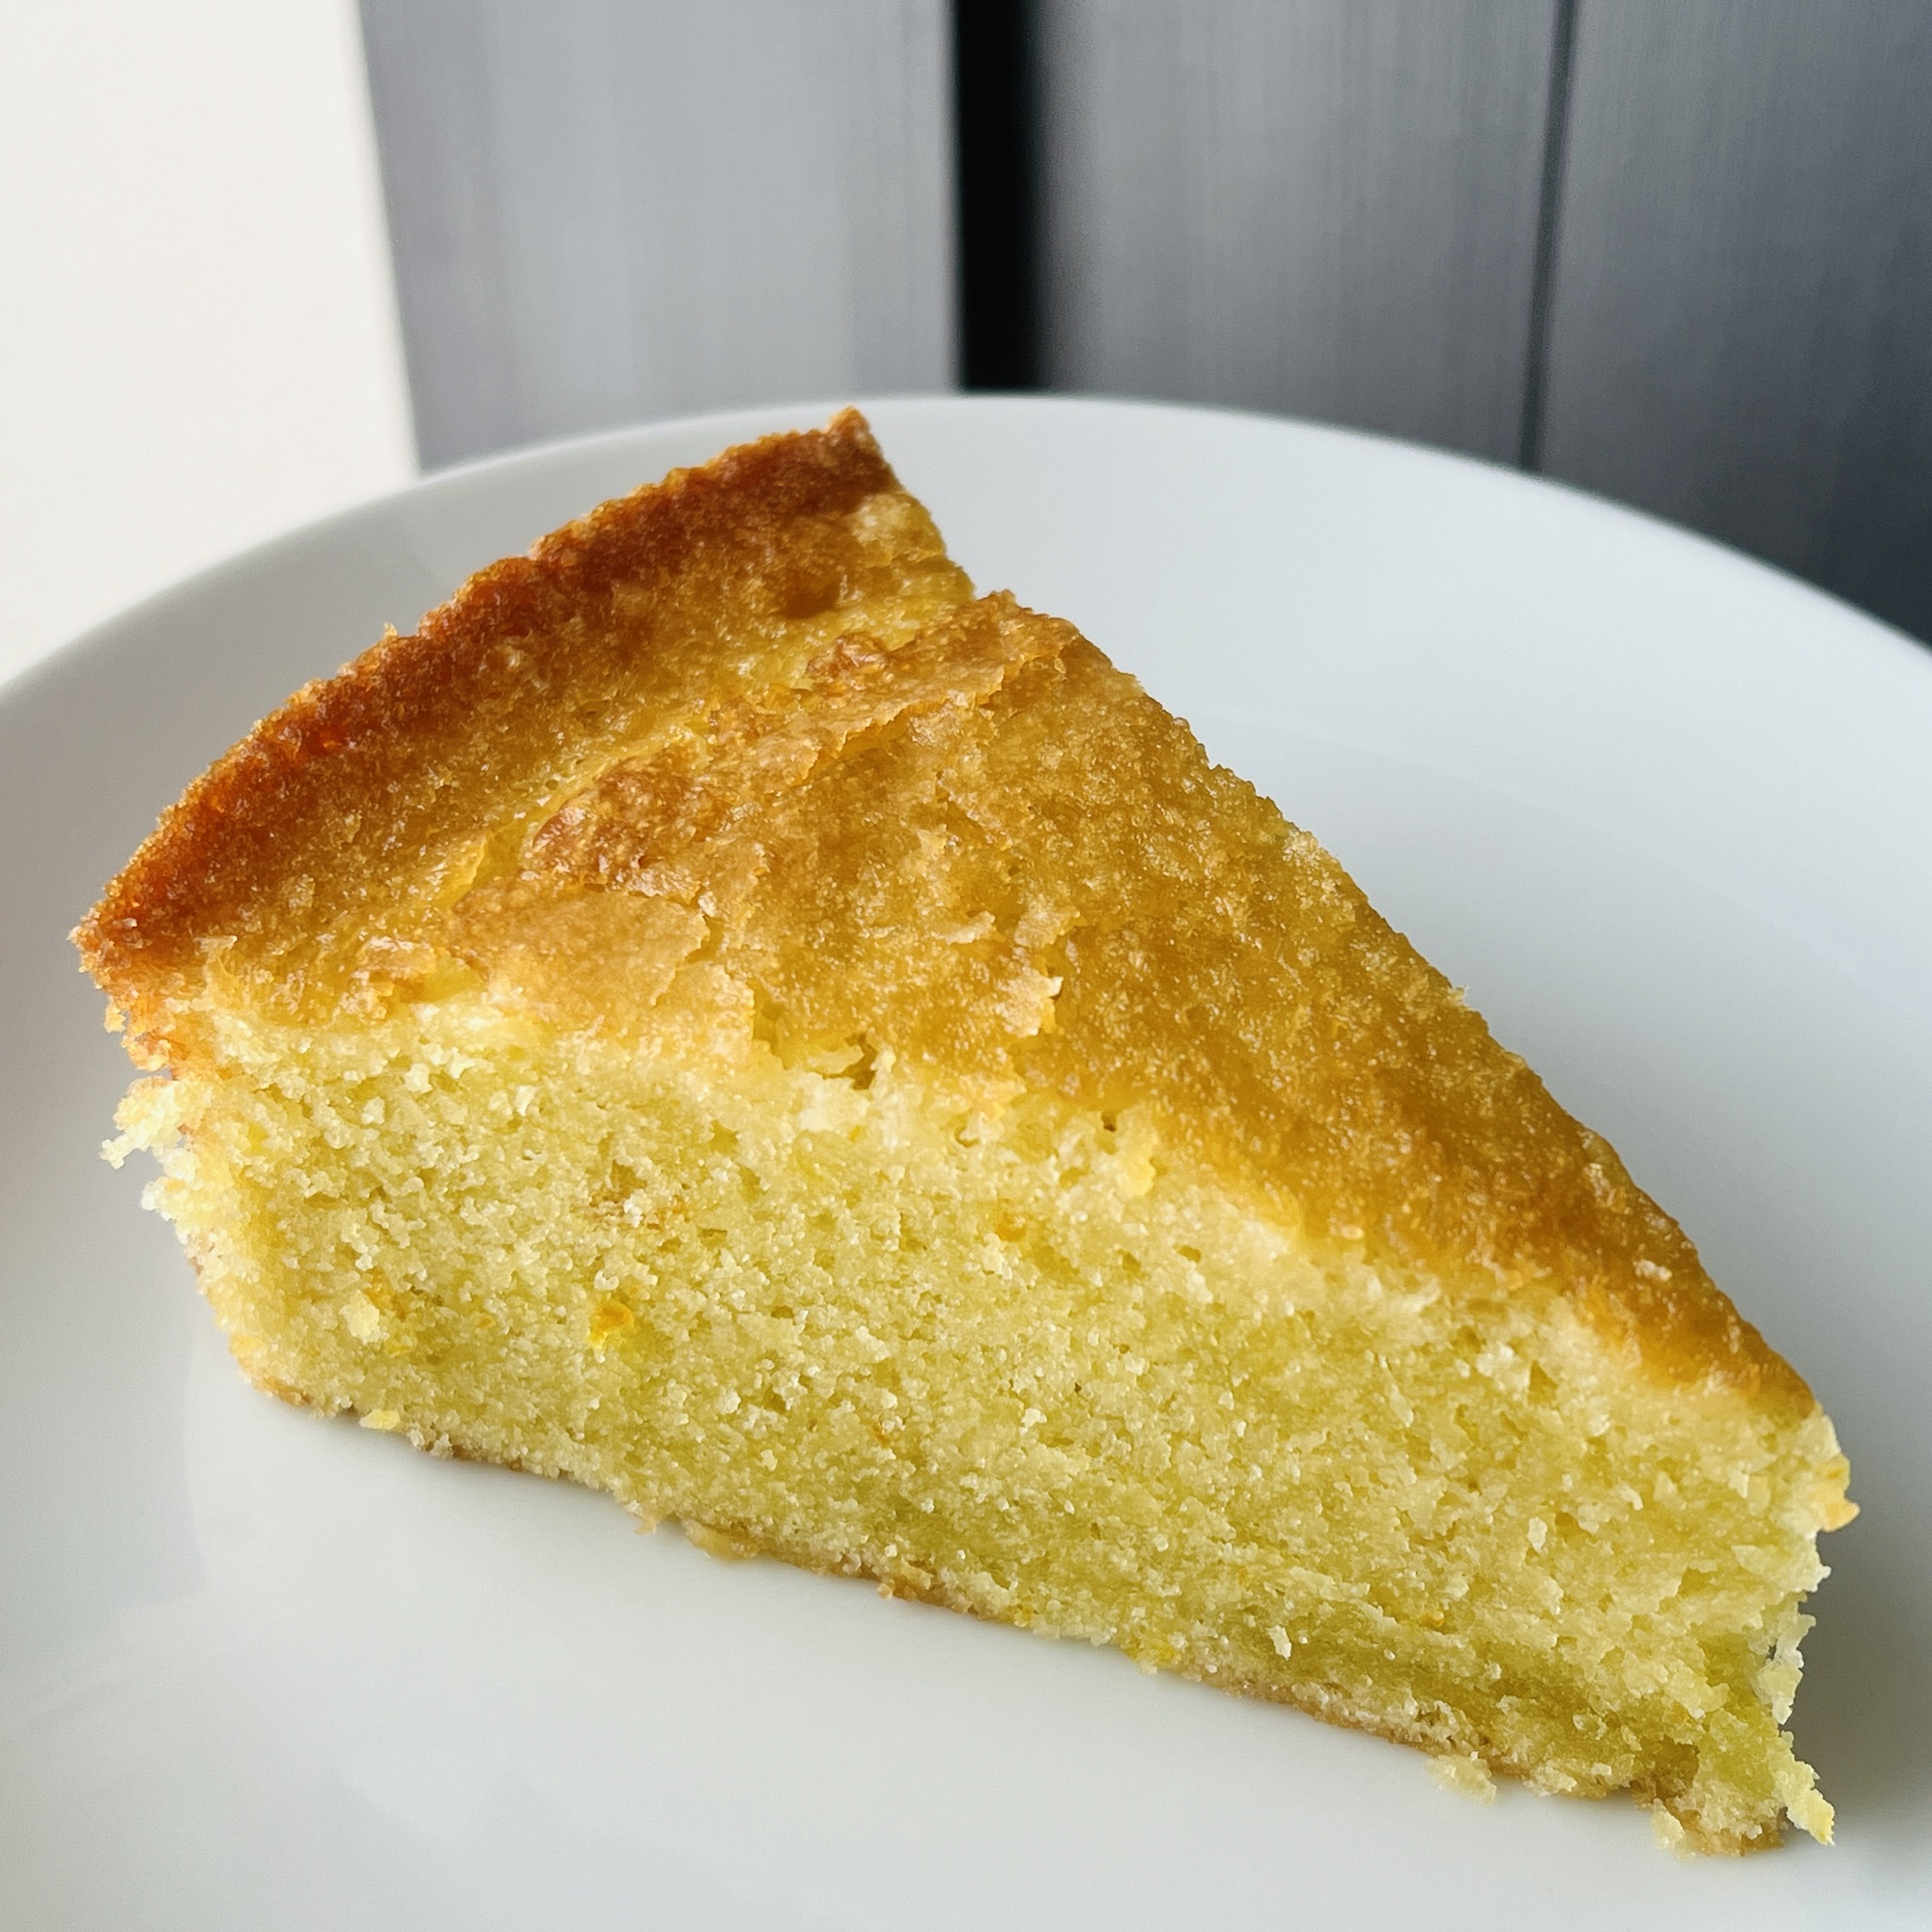
I’m not much of a fancy cake baker. Though I have a love for all things homemade and 9 times out of 10 there will be a cake of some sort on my dinner table for a special occasion, it will almost always be a Bundt cake or some other type of single layer treat. Olive oil cakes are one of my favorites at the moment and this Zesty Orange Olive Oil Cake is high on the list of things I can’t resist.

What is Olive Oil Cake?
Like most recipes that have stood the test of time, olive oil cake is no different. The olive tree has been cherished for millennia in the Mediterranean and the oil was used for many things to include making sweet breads along with ingredients such as honey and fruits as a sweeteners. Some versions include spices like cinnamon and nutmeg. You would be surprised how versatile olive oil is.
What was once a necessity, isn’t the case for today’s cakes. We use the oil as a replacement for butter and fruits such as lemons or oranges as a flavoring simply because the texture and taste is amazing. The results are a tender & soft crumb and a bonus??? They last longer on the counter and freeze well too!
Zesty Orange Olive Oil Cake can be enjoyed on its own, or drizzled with honey or an infused simple syrup. Dress it up with homemade whipped cream and some more fresh fruit. It also pairs beautifully with afternoon tea or coffee. It is perfect for a special occasion or just because, either way you serve it, the simplicity makes it something special every single time.

What You’ll Need:
Extra Virgin Olive Oil- This is important. Olive oil isn’t all created equally. I encourage you to do some research and use a good oil that is real. There is a lot of fake oils out there, and in my personal experience some brands seem to add coloring to make it look green. Not what you want to use in this cake at all.
All-Purpose Flour
Baking Powder- We only use baking powder here. No baking soda because both cocoa powders are alkalized and do not have the acidity level to activate it.
Salt
White Sugar
Large Eggs- room temperature.
Whole Milk- room temperature.
Fresh Oranges- You will need 1-2 for the zest and juice.
Vanilla Extract
Digital Gram Scale- (optional) I highly recommend weighing your ingredients when baking. Volume measurements can vary quite a bit, changing your end result. Inaccurate amounts can throw the ratio of dry vs. wet ingredients off, creating a batter that is too wet or too dry. Definitely not a necessity, but very helpful. It also uses less dishes. Win, win. (METRIC measurements are provided in the recipe card below.)
Digital Thermometer- (optional) Cooked internal temperature is 200 F.
Stand Mixer- You can also make this with a hand mixer, but using one of them is highly recommended because the mixing continues while the oil is drizzled in.
Round Baking Pan- I use a 9-inch round cake pan with 2″ sides. You can also use a 9″ springform pan.
Baker’s Joy- Use a non-stick spray that has flour such as baker’s joy. Pam also has a spray with flour for baking. You can also grease your pan with shortening or unsalted butter and dust with flour or more cocoa powder to prevent sticking.
Parchment Paper- This is added insurance to make sure the cake releases out of the pan.
Large Baking Tray- (optional) To prevent possible spills in the oven.
Cooling Rack- (optional)
Sweet Whipped Cream- (optional) See recipe card below.

Measuring without a scale…
When it comes to baking a cake without a digital gram scale, follow these simple tips for measuring by volume:
For dry ingredients like flour and sugar, use a set of dry measuring cups. To measure, lightly fluff the ingredient with a spoon to aerate it, then gently spoon the ingredient into the measuring cup, allowing it to overflow slightly. Use a straight-edged utensil to level off the excess, ensuring a more accurate measurement.
For wet ingredients like milk, juice, oil, and vanilla extract, use liquid measuring cups. Fill the cup to the measurement line while keeping it level on a flat surface. The clear liquid measuring cup allows you to clearly see how much liquid you have.

Dressing it up!
I haven’t had much success making “pretty” layered cakes so I have embraced other types of cakes that are easy enough to make but still offer with versatility with their minimalism. This cake can stand on its own or be dressed up with a variety of toppings such as fresh orange slices or berries, a dusting of powdered sugar, or a dollop of whipped cream. Here are some of my favorite ways to dress it up.
Citrus Glaze: Whip up a simple glaze using powdered sugar and fresh orange juice. Drizzle it over the cooled cake for an extra burst of citrus flavor and a beautiful glossy finish.
Honey Drizzle: Drizzle a bit of honey over each slice of cake for a touch of extra sweetness and a glossy finish. It pairs perfectly with the citrus and olive oil flavors.
Fresh Berries: Top with fresh berries such as strawberries, blueberries, raspberries, or blackberries. Their natural sweetness and vibrant colors will complement this deep chocolate cake beautifully.
Vanilla Ice Cream: Serve with a scoop of vanilla ice cream.
Sweet Whipped Cream: Serve a dollop of lightly sweetened whipped cream. See the recipe card below.
Toasted Nuts: Sprinkle toasted nuts like slivered almonds, chopped pistachios, pecans, or walnuts.
Powdered Sugar: Dust the cake with a light sprinkling of powdered sugar for an elegant touch. You can even use a stencil to create decorative patterns. If you are looking for an unrefined sugar substitute, you can make your own with coconut sugar!
Storage Tips
So, you’ve got this fabulous olive oil cake, and you want it to stay fresh and delicious, right? Well, here’s how…
Olive oil cakes are pretty easy when it comes to storage. Pop it into an airtight container and keep at room temperature for up to 2-3 days, and it’ll still taste awesome. If you want to keep it longer (which I totally get because it’s so good), freeze it for up to 2-3 months. Just be sure to let it cool completely before freezing. And when you’re ready to dig in again, thaw it at room temperature for a few hours. Voila! Your olive oil cake will be good to go for another round of yumminess!
How to release the cake
- After the cake has cooled for about 20 minutes, grab an extra pan, plate or cake dish. Take a pot holder or two as needed and carefully slide a butter knife around the edge of the cake to release the sides.
2. Place the bottom of the extra cake pan, plate, or cake dish on top of the cake. Flip them both over (the cake will then be flipped upside down.)
3. The cake should release easily as you pull the pan away. The parchment paper will be left behind.
4. Peel off the parchment paper.
5. Place the cooling rack, or any dish you want to rest your cake on and place it on the bottom of the cake.
6. Flip the cake back over so it is right side up.
See my Midnight Chocolate Olive Oil Cake recipe for photos & details!
Love Dessert? Check out my other recipes?
Midnight Chocolate Olive Oil Cake
One-Bowl Pumpkin Olive Oil Cake
Chocolate Buttermilk Banana Bundt
Chocolate Chip Bourbon Banana Bread
If you try this Zesty Orange Olive Oil Cake or any of my other recipes, comment & rate below.


You can also find me on Facebook & Pinterest!

Subscribe today for FREE weekly recipes sent directly to your inbox!
Be sure to check your email to confirm.

Zesty Orange Olive Oil Cake
Equipment
- 1 9" Round Cake Pan or Springform Pan with a baking tray underneath
- Baker's Joy or Pam Spray with flour
- Parchment
- Large Sieve, for sifting the dry ingredients
- Hand Mixer or Stand Mixer
- Digital Gram Scale optional
- Digital Thermometer optional
- Medium Mixing Bowl
- 1 Large Baking Tray, for preventing spills, optional.
Ingredients
Zesty Orange Olive Oil Cake:
- 2 cups all-purpose flour
- 1 teaspoon baking powder
- 1/4 teaspoon baking soda
- 1/2 teaspoon salt
- 1-1/2 cups white sugar
- 3 large eggs, room temperature
- 1 cup extra-virgin olive oil
- 1 cup whole milk, room temperature
- 1/3 cup fresh orange juice, strained of pulp & seeds
- 1 tablespoon orange zest
- 1 teaspoon vanilla extract or paste
Optional Topping: Sprinkle on just before baking.
- 2-3 tablespoons white sugar
Sweet Whipped Cream:
- 1 cup heavy whipping cream
- 3 tablespoons powdered sugar, or coconut powdered sugar (SEE ARTICLE ABOVE)
- 1 teaspoon vanilla extract, or vanilla paste
Instructions
- Carefully measure and sift together the flour, baking powder, baking soda, and salt with the sieve into a medium mixing bowl. Measure out the milk (in either a small bowl or a small measuring jug), if it is cold from the fridge, microwave it for about 20-25 seconds to get the chill off. Add the vanilla extract or paste to the milk and set aside.
- Zest 1-2 oranges for 1 tablespoon of zest. Juice the orange(s) to get 1/3 cup, strain and set aside.
- Pre-heat the oven to 350 F (if using a dark coated non-stick pan, lower the temperature to 325 F and adjust the baking time as needed). Grease a 9" round cake pan (you can also use a 9" springform pan and a baking sheet underneath) with a non-stick spray with flour. If you do not have this type of spray, then butter your pan well and dust it with flour to prevent sticking. Line the bottom with a round of parchment paper. Set the prepared pan aside.
- Mix the eggs and sugar in the bowl of a stand mixer with the whisk attachment on medium speed until light and well incorporated, about 1-2 minutes.
- Switch the mixer down to low (2 on a Kitchen-Aid) and pour the olive oil in a steady stream. Do this gradually, allowing the oil to fully incorporate into the mixture. This will take a few minutes as it mixes in and slowly emulsifies.
- Remove the bowl from the mixer and stir in the milk, vanilla extract, orange juice and zest.
- Add the dry ingredients, mix on low only until you can't see anymore flour.
- Pour the batter into the prepared pan. Sprinkle with 2-3 tablespoons of white sugar for a sweet crust topping or leave plain for a dusting of powdered sugar when serving.
- Bake on the middle rack for 40-45, the cooked internal temperature is 210 F or until a toothpick in the center comes out clean.
- Let the cooked cake cool in the pan for 20 minutes. Loosen the sides with a butter knife and release the cake by inverting onto a plate or other pan. Continue to cool completely before decorating, serving, and garnishing. Storage tips are provided in the notes below.
Sweet Whipped Cream:
- Place the cold whipped cream, powdered sugar and vanilla extract into a medium mixing bowl.
- Whisk by hand or use an electric mixer until light and fluffy. When it stiffens and holds it's shape, stop whipping.
- Refrigerate for up to one week.
Leave a Reply to ChristyCancel reply